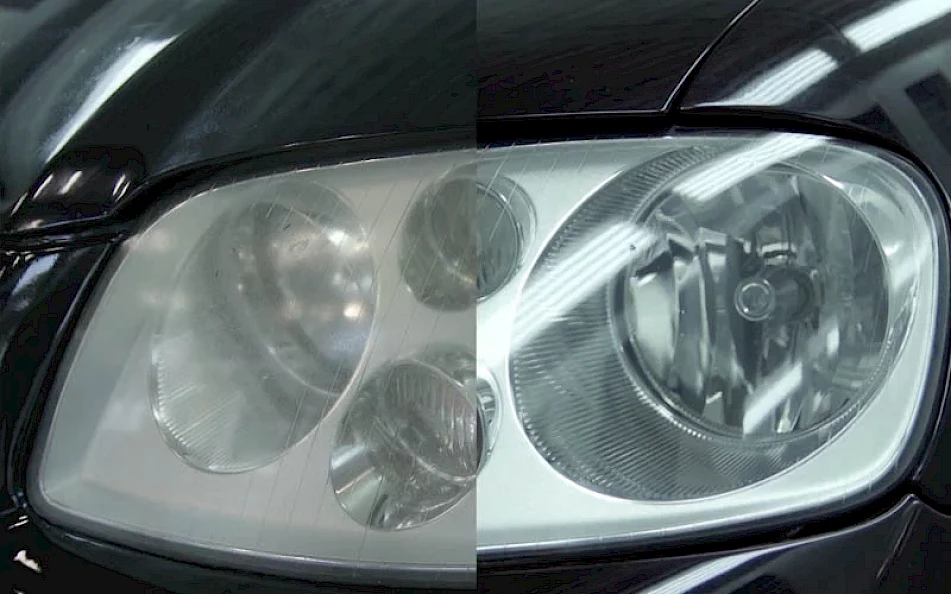


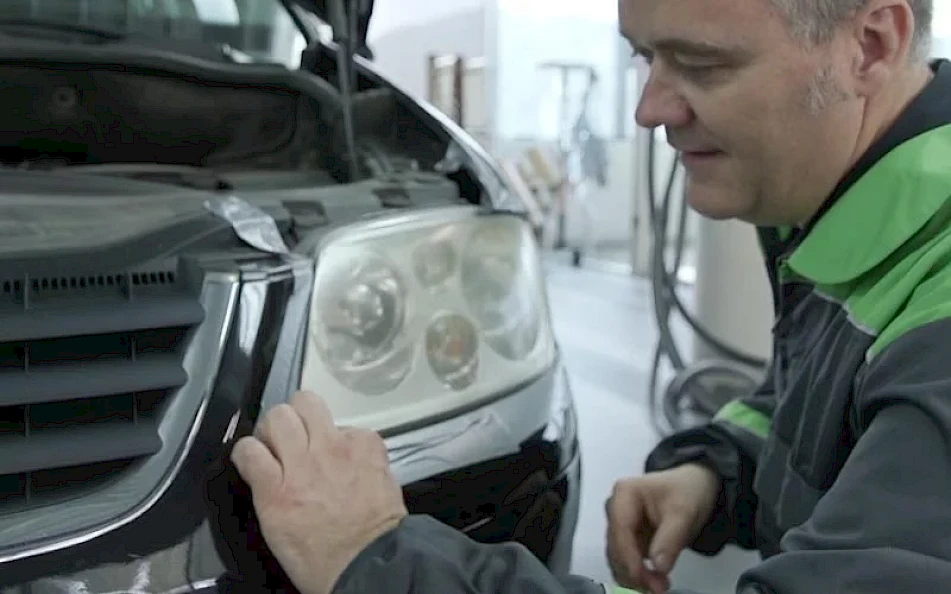
Steps for repairing vehicle headlights
When light lenses have a deteriorated and yellowish appearance, with more pronounced scratches and flaws, polishing will not suffice to restore them to their original condition. Therefore, this tutorial will focus on a headlight repair process from scratch.
Using simple techniques and the right products will make you recover their initial appearance and quality, providing the headlights the brightness they had at origin. Let us see all the steps to take for an effective and lasting repair.
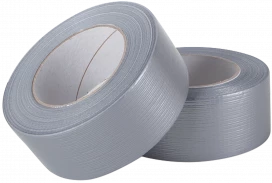
1. Preparing the surface
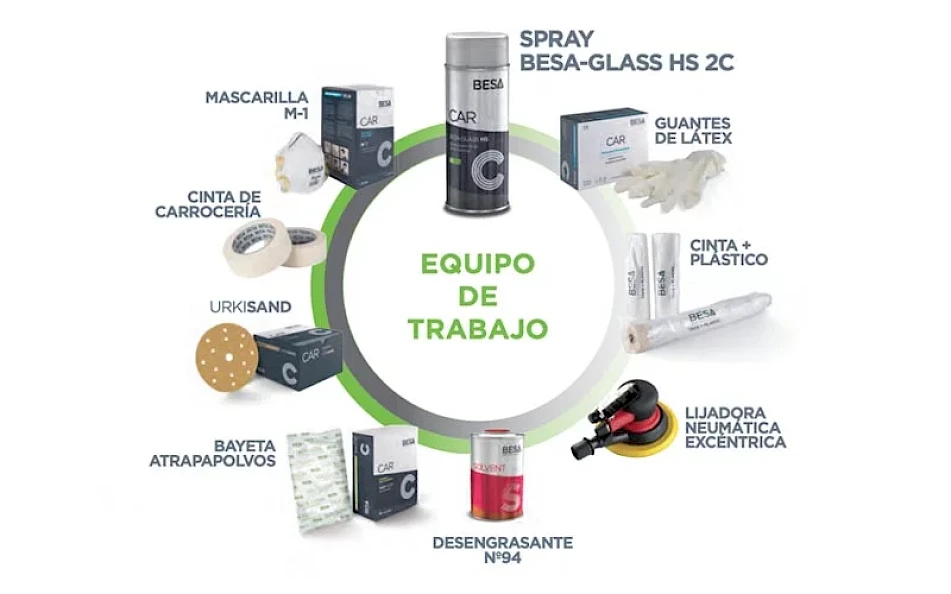
First of all, protect the surface around the headlight with duct tape, in order prevent damaging adjacent parts.
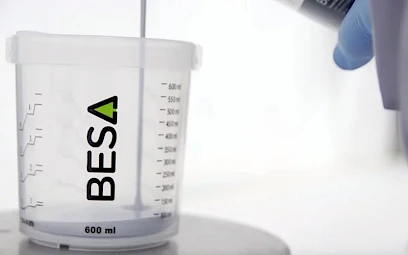
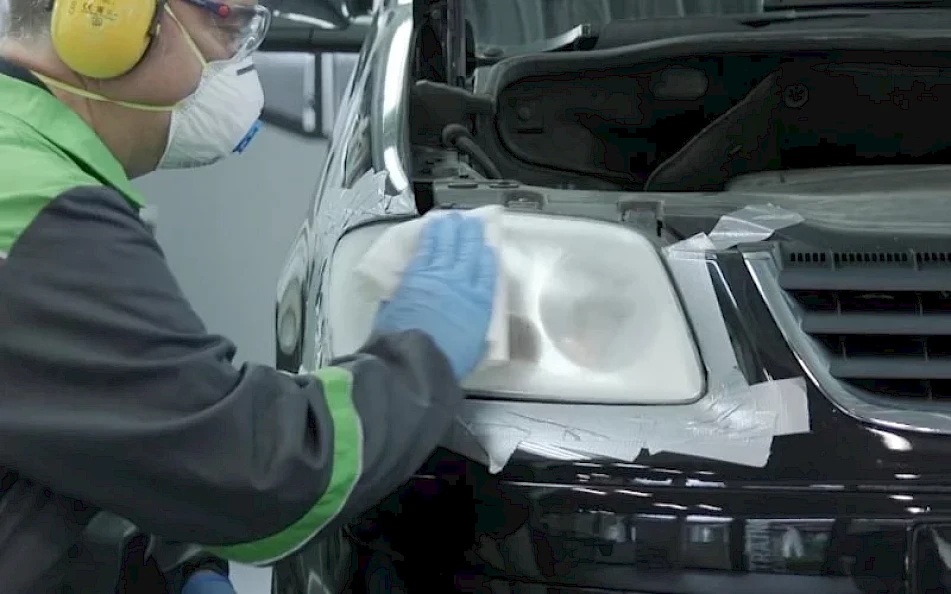
2. Cleaning and degreasing the light lenses
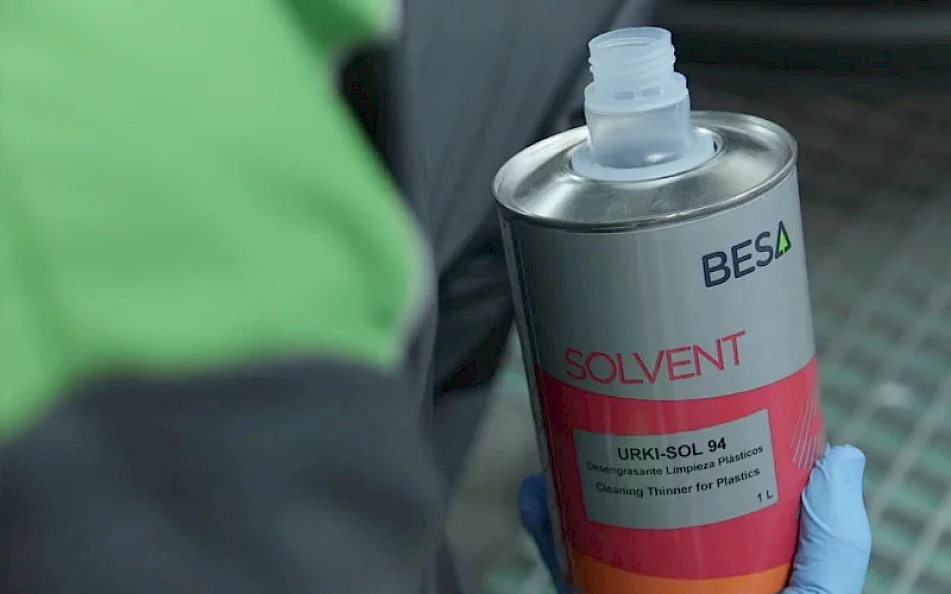
Clean and degrease the light lenses thoroughly using a special plastic degreaser such as URKI-SOL 94.
Proper cleaning will help you carry out a much more effective repair.

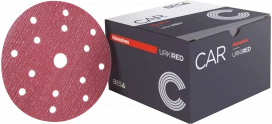
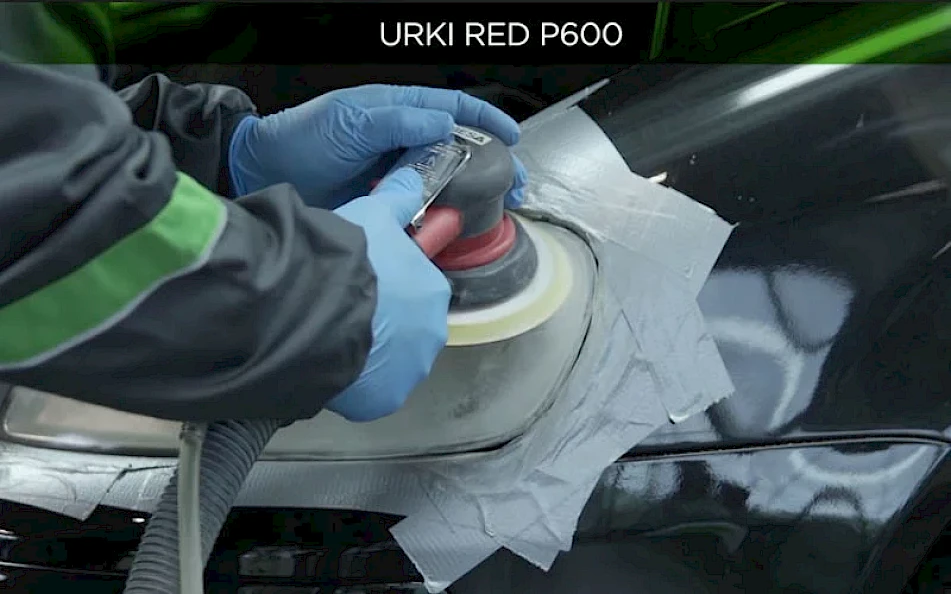
3. Sanding headlights with P600
Remove the scratches and scuffs from the headlights by sanding.
Sand the light lenses with a P600 sandpaper. This step can be done either with a sanding machine or manually. Special care must be taken not to generate sanding marks that may be visible after applying the clear coat.
4. Cleaning and degreasing the light lenses
Then, clean the surface of the headlights with an air gun and degrease them to check that the yellowish colour and surface damage have been removed. If not, sand the surface again until the defects disappear.
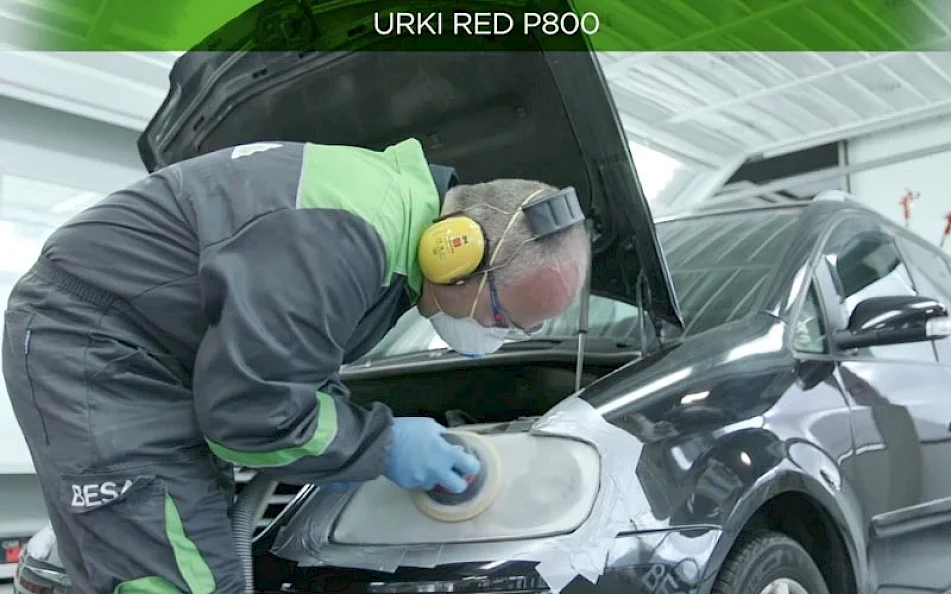
5. Sanding with P800
Finish the sanding process with a P800 sandpaper to smoothen the surface.
6. Degreasing the sanded surface
Apply plastic degreaser again to remove any dust generated during the sanding process.
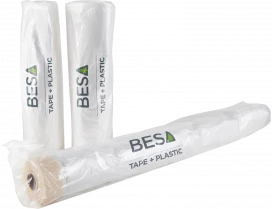
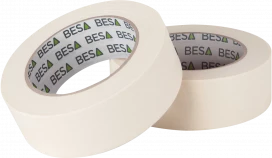
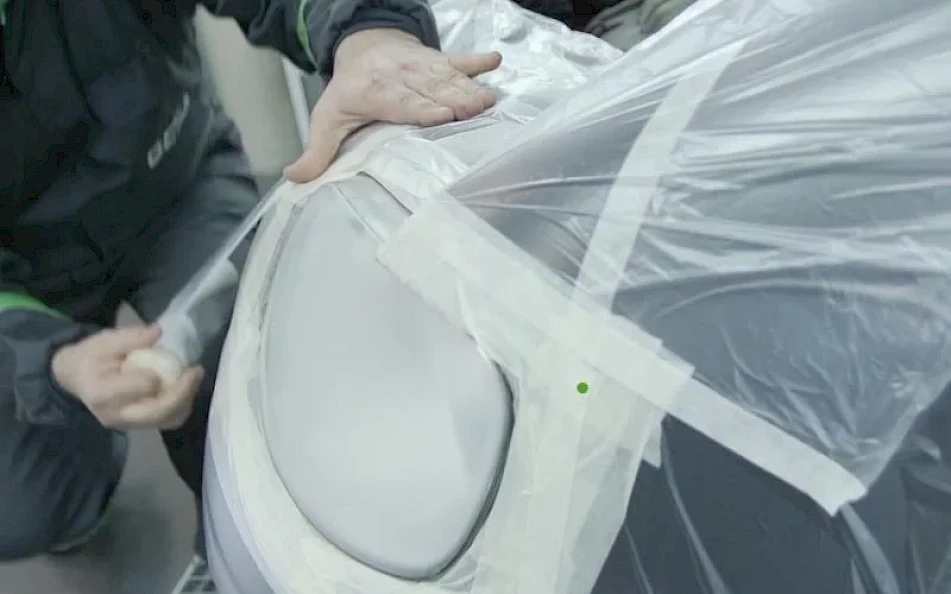
7. Mask and wipe off any remaining dust
Properly mask the area around the headlight. To do this, use masking tape and tape plus plastic.
To make sure there are no particles left on the surface, degrease the headlights again with a dust cloth.
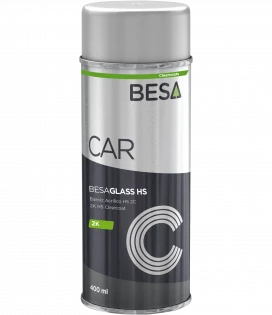
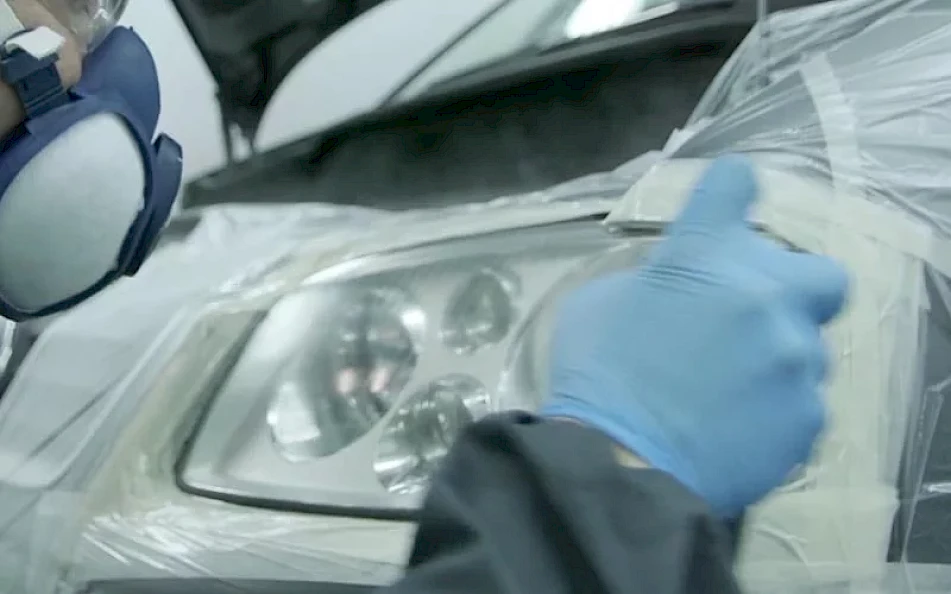
8. Clear coating light lenses
As a final step, clear coat the headlight surface. To do this, use a 2-component spray clear coat such as BESAGLASS. This clear coat provides excellent gloss, levelling, transparency and quick drying.
To harden the spray clear coat, shake it and remove the lower cover, pull the ring and turn it 360 degrees.
Finally, apply the clear coat evenly and uniformly over the entire headlight surface.
9. Final results
Follow these steps to give the headlights their original transparency, providing both great protection and durability.